Choosing the best LED Driving Lights in 2023
LED driving lights are a crucial accessory for any offroad vehicle, particularly in Australia where the rugged terrain and varied driving conditions can make visibility


LED driving lights are a crucial accessory for any offroad vehicle, particularly in Australia where the rugged terrain and varied driving conditions can make visibility
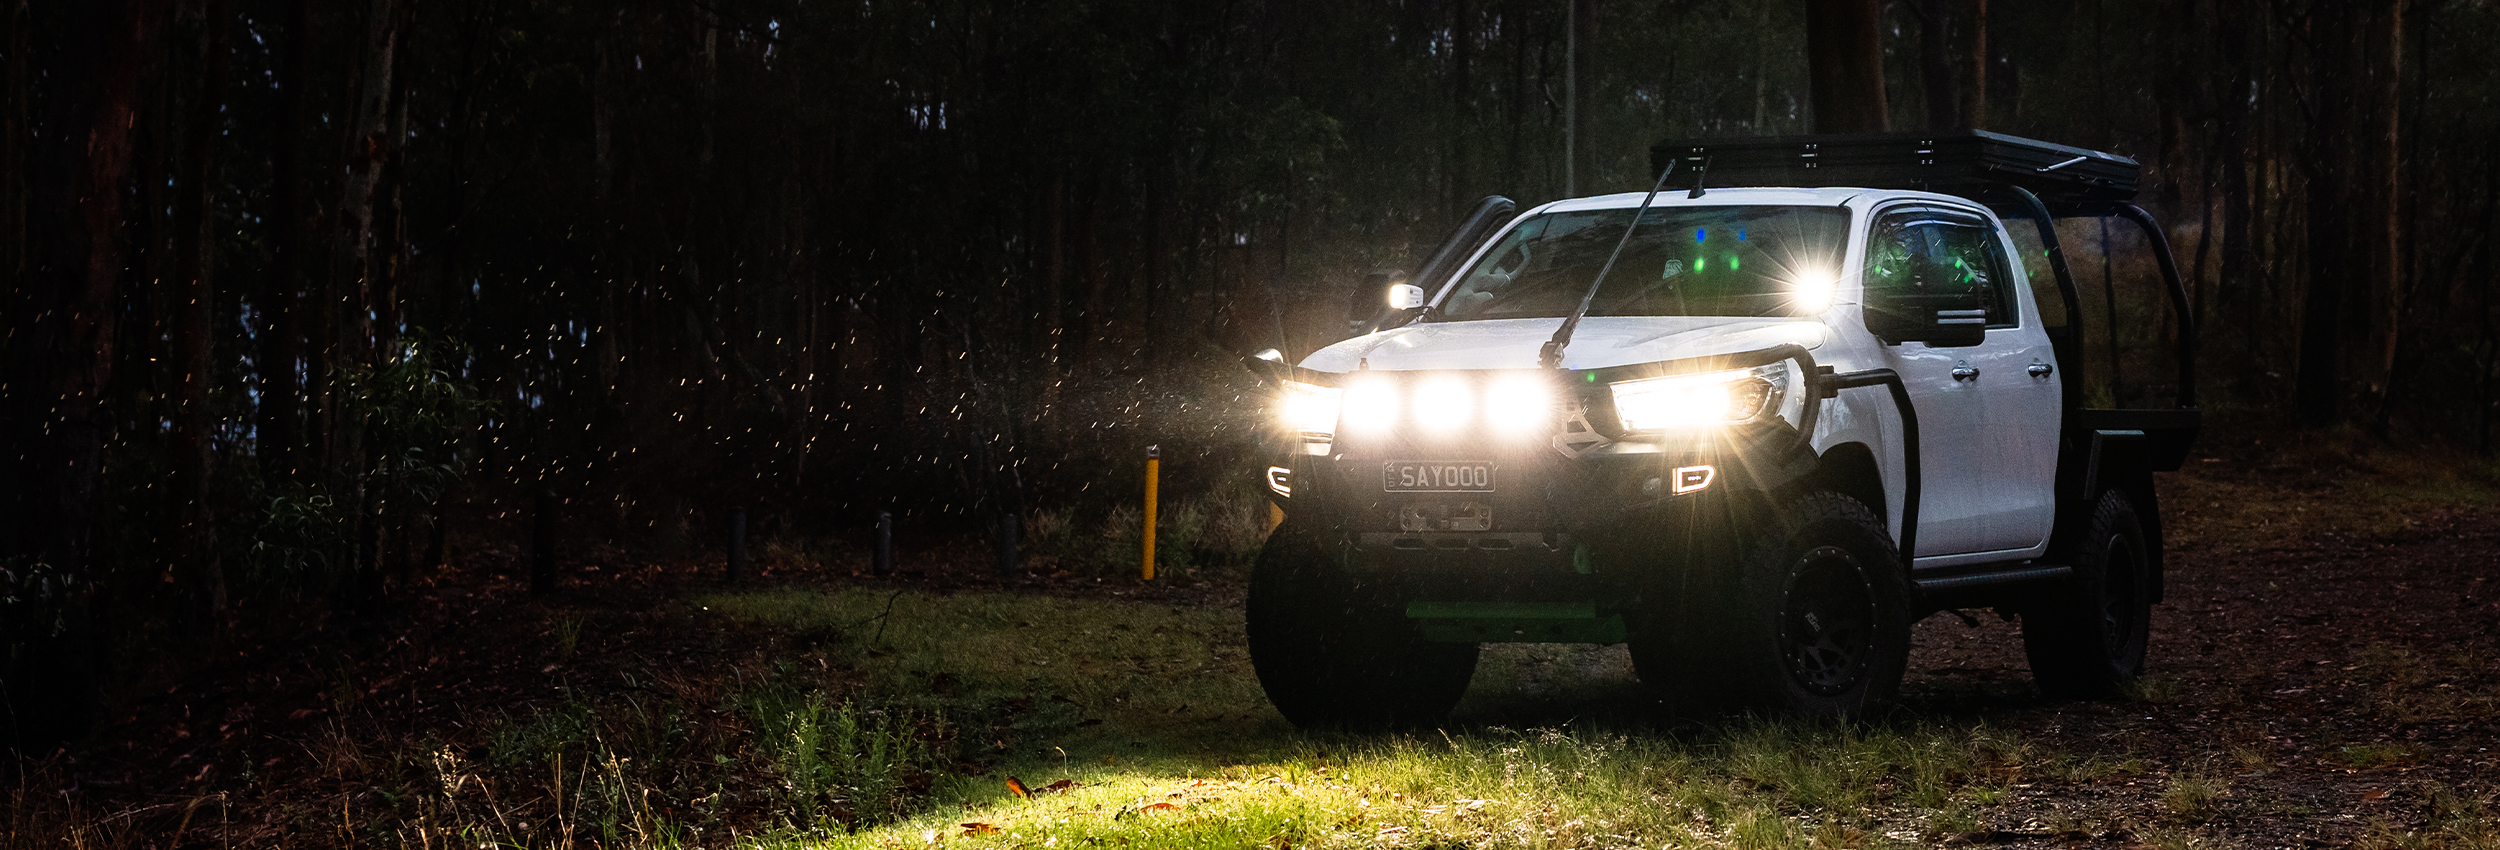
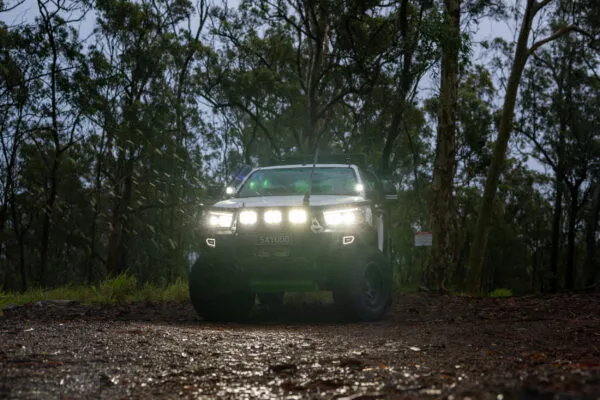
Today we dive into Fred’s N80 Hilux and a couple of his recent BASE6 light upgrades. This was a recent update that he completed with
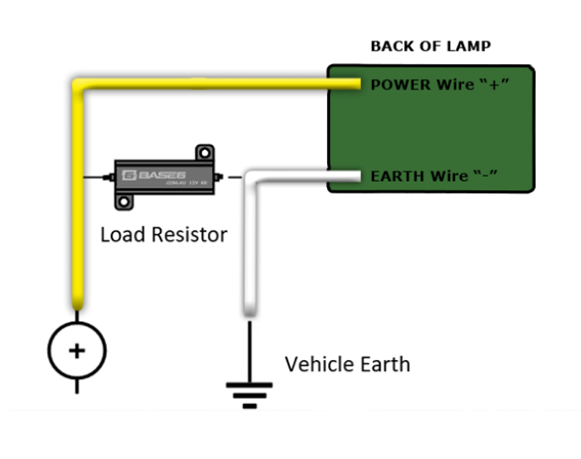
Wiring up a set of driving lights has traditionally been a nightmare! But I’m going to show you how easy it is to wire up

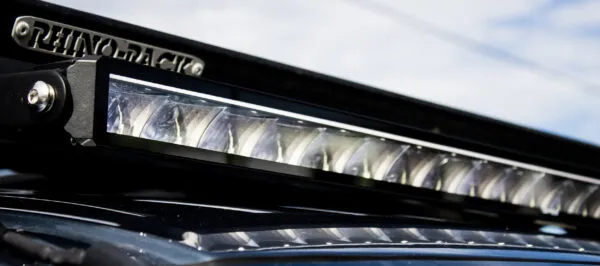
When it comes to choosing a work light, there are many factors to consider. At BASE6, we understand that our customers have high standards when
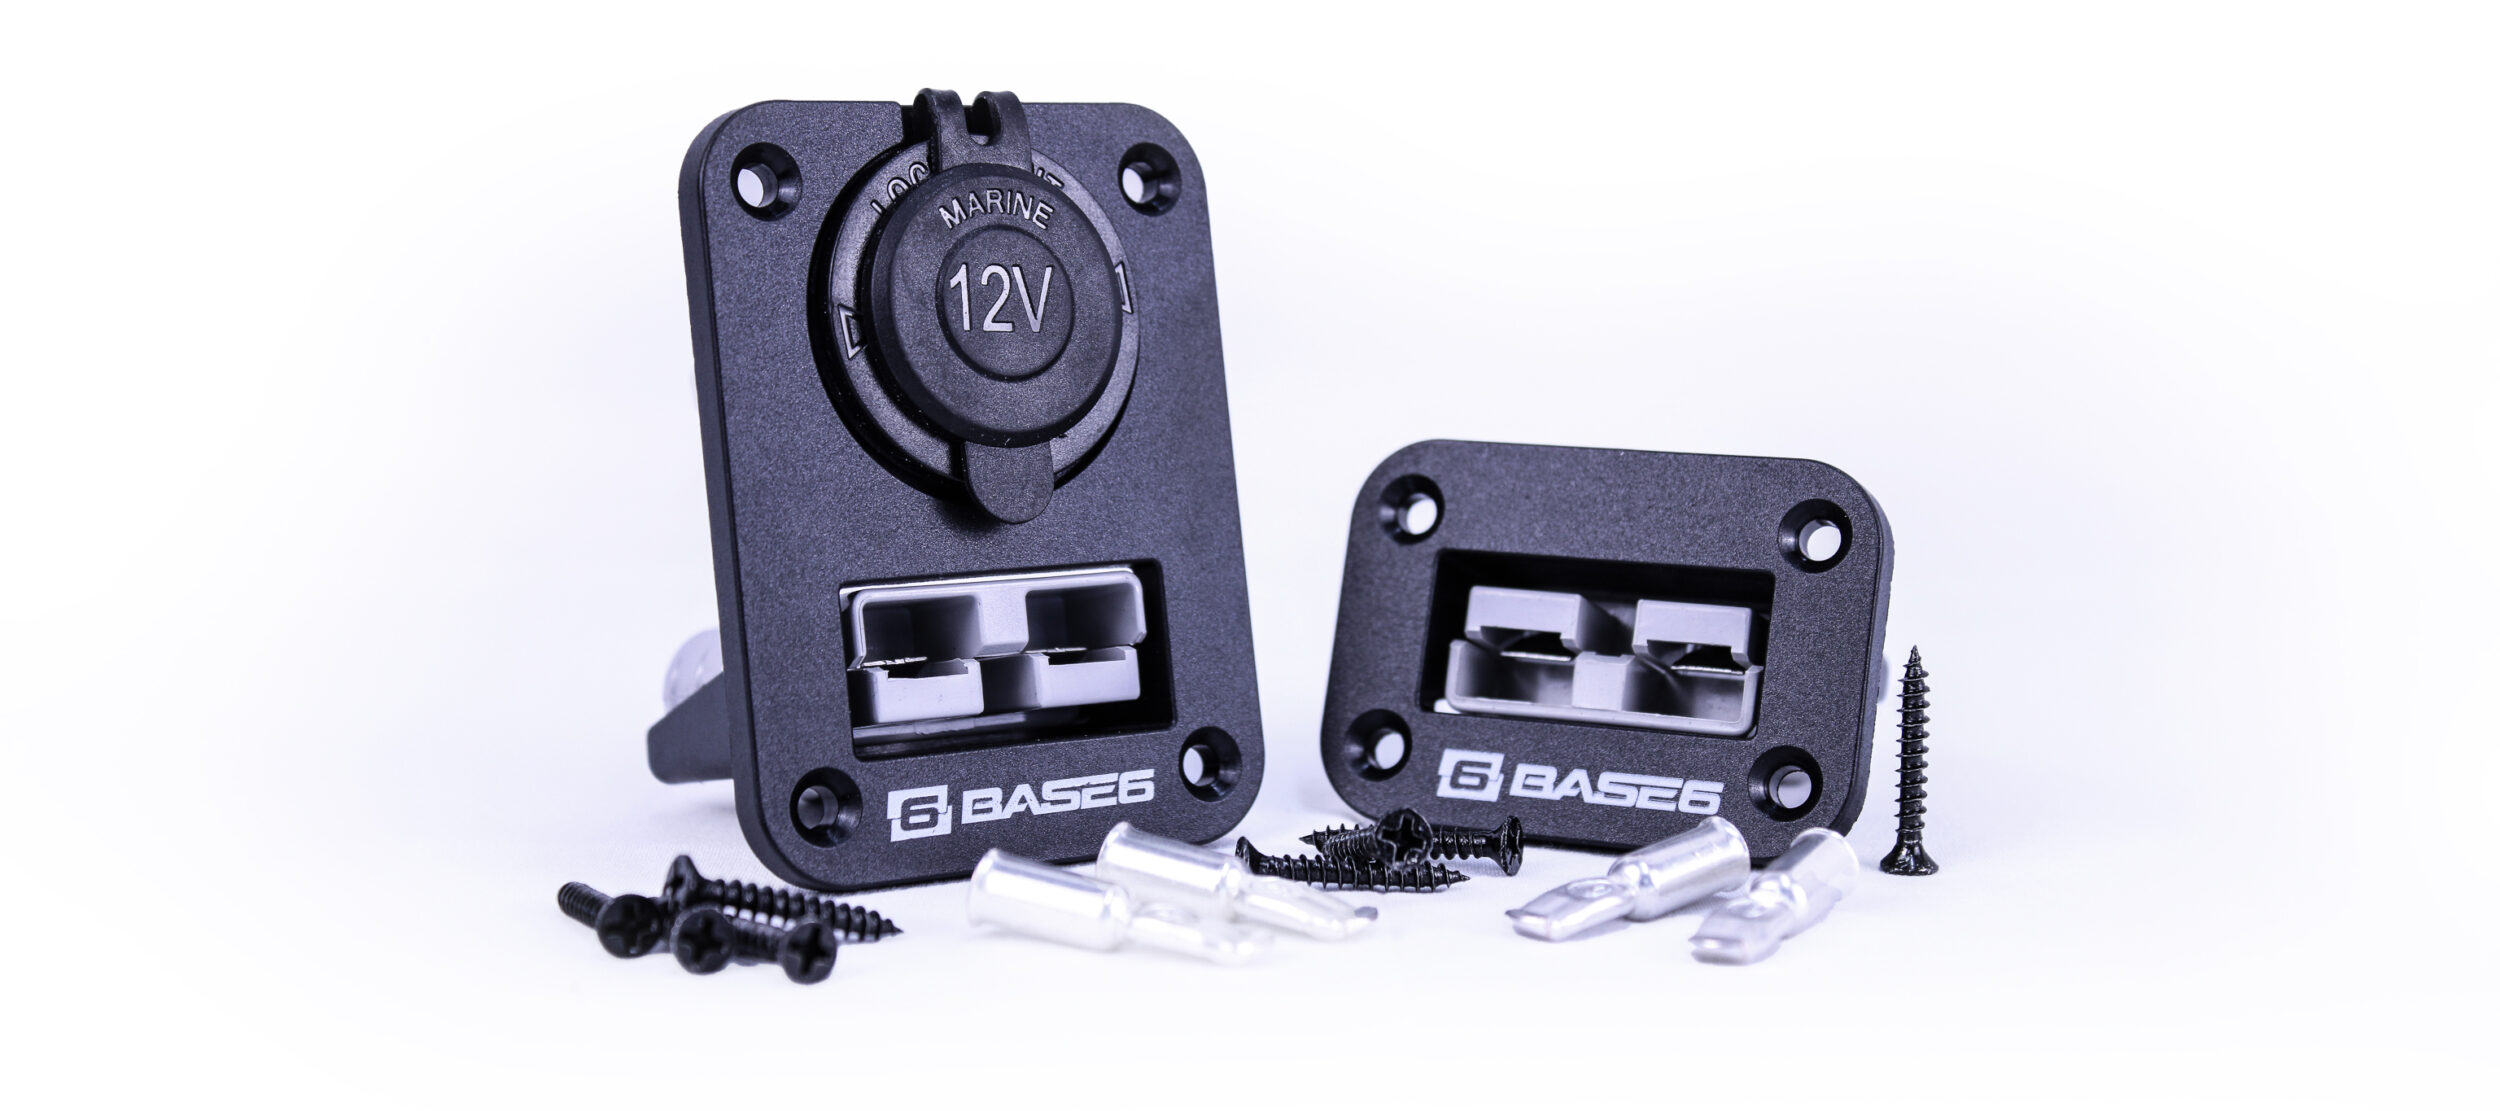
flush mount installations with base6 If you’re looking for an easy and clean way to connect your solar panels to auxiliary batteries or appliances, the
One Response
I want to to thank you for this good read!! I certainly loved every little bit of it. I have you bookmarked to look at new things you postÖ